Creating a functional and stylish bathroom layout requires more than picking out tile and paint colors. Before you get to the fun stuff, you need to consider some essential building codes and layout requirements. From the amount of space you need for each fixture to plumbing placement tips, understanding these basics will help you make the most of your bathroom remodel.
Understanding Building Codes and Minimum Requirements for Your Bathroom Needs
When designing a bathroom, you can't just squeeze everything in wherever it fits; each fixture has specific building codes and minimum space requirements. These codes are in place for a reason—they help ensure the bathroom is safe, functional, and accessible. Here's a breakdown of the key dimensions you need to know:
-
Toilet Clearance: To ensure comfort and accessibility, your toilet needs at least 30 inches of clearance—15 inches from the center of the toilet to each side and 24” of space at the front. This allows for enough space to sit comfortably without feeling cramped.
-
Shower Dimensions: Building codes require a minimum width of 30 inches by 30 inches for a standard shower. This gives enough room to move around comfortably and safely within the shower enclosure. Adding these dimensions together (toilet + shower) brings the minimum width of your bathroom space to about 60 inches.
-
Adding a Vanity: If you plan to add a vanity, you'll need even more space. A small vanity usually requires a minimum of 24 inches of width. To create a traditional rectangular bathroom layout with a toilet, shower, and vanity, you'll need a minimum of 7 feet by 4 feet. While compact, this layout can work well for a single occupant at a time, giving you the basics without feeling overly cramped.
-
Expanding a Half Bath: If you're starting with a half bath—a bathroom with only a toilet and sink—you'll need to add extra space to turn it into a full bathroom by including a shower or bathtub. A half bath is typically around 3 feet by 6 feet, which isn't quite enough for a full bath setup. Be prepared to add at least an additional 2 feet in width to accommodate the shower or tub.
How to Arrange a Bathroom Layout: Key Rules and Best Practices
Designing a bathroom layout that's both functional and visually appealing can be tricky. There's a delicate balance between making the most of limited space and ensuring every fixture is easily accessible. Here's a closer look at some essential rules and best practices to help you create a bathroom layout that works. Here are some tips to keep in mind:
1. Prioritize the Essentials First
Begin with the largest fixtures first—the toilet, shower, and vanity. The toilet and vanity typically go along the main wall, with the shower or tub at the end. This layout keeps everything within easy reach and leaves room for foot traffic.
2. Ensure Comfortable Spacing
Even medium-sized bathrooms need breathing room around each fixture. For example, just because the code requires at least 15 inches of side clearance on each side of the toilet doesn’t mean you can’t add more breathing space. Around the vanity, make sure there's enough space for someone to lean over the sink and access storage underneath comfortably.
3. Focus on Flow and Accessibility
Think about how you'll move through the space. Ideally, the bathroom door shouldn't open directly into the toilet—this can make the room feel cramped and awkward. If possible, position the toilet out of direct sight from the doorway for better privacy and visual appeal. Consider who will be using the bathroom. Will there be multiple people brushing their teeth at the same time? Understanding the use cases is key to designing a functional space.
4. Optimize for Natural Light (if possible)
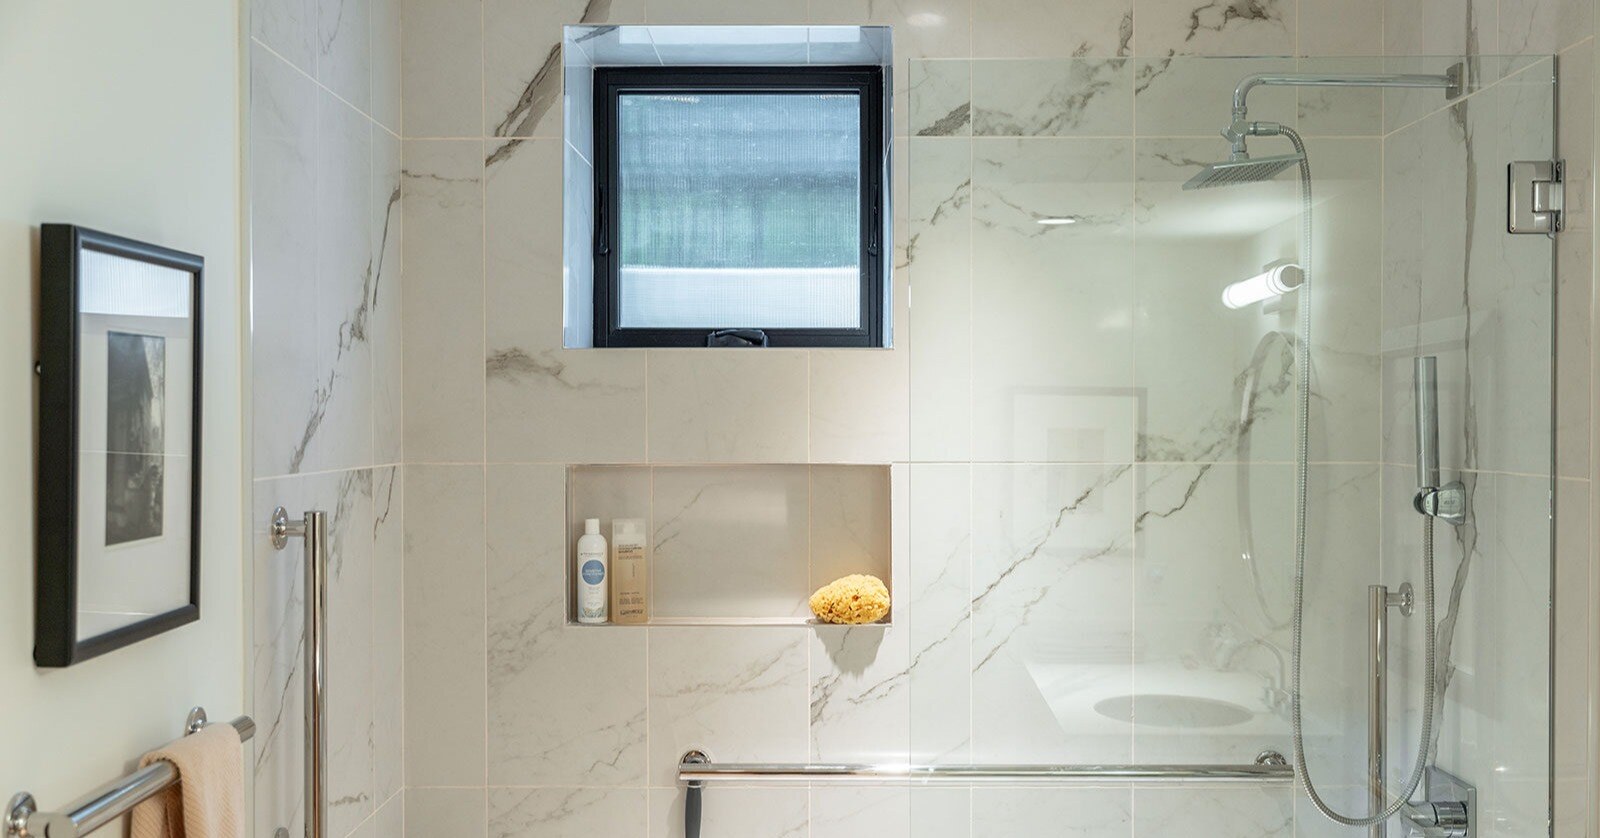
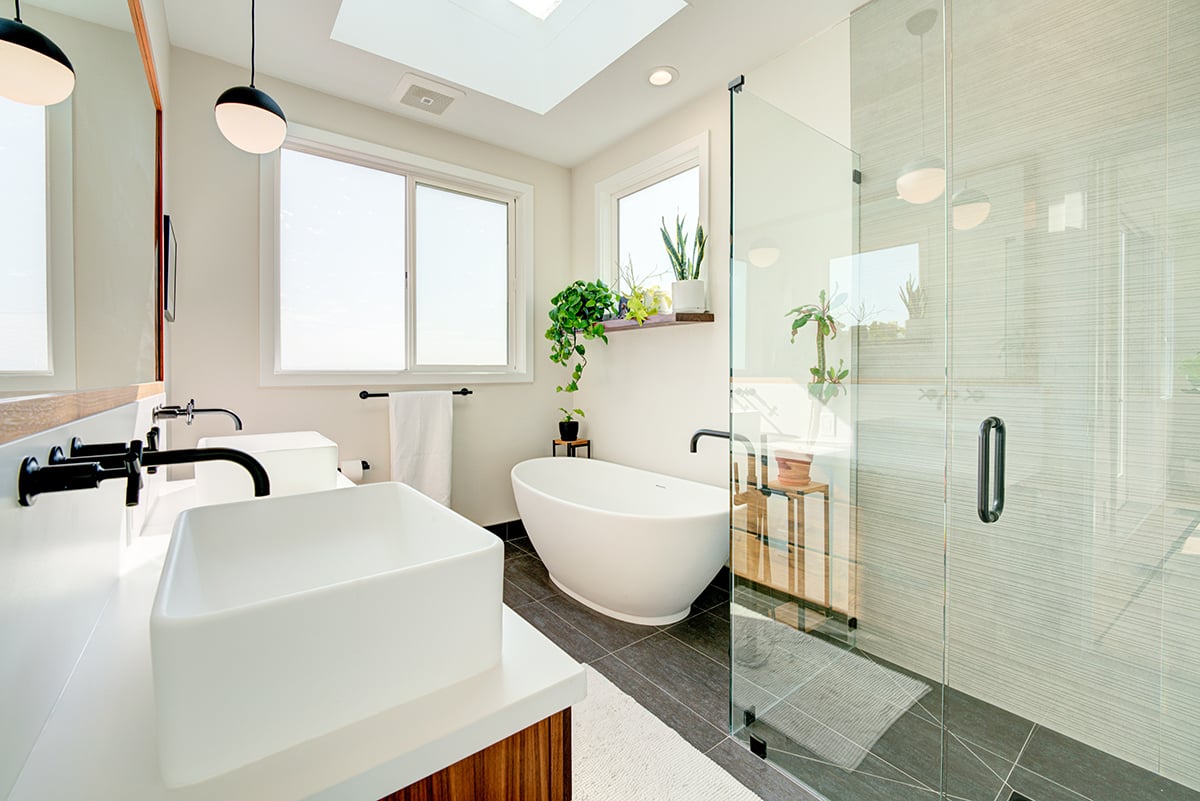
If not designed correctly, bathrooms can often feel small and enclosed, so if there's an opportunity to include a window or a skylight, it's worth it. Natural light makes a bathroom feel larger and more inviting.
What Are the Rules of Bathroom Layout?
There are some general guidelines and rules for designing your bathroom layout. These rules ensure safety, accessibility, and comfort regardless of the bathroom's size.
Rule #1: Maintain Minimum Clearances
As stated above, every fixture has minimum clearance requirements. Adhering to these clearances is essential for functionality, aesthetics, and compliance with building codes.
Rule #2: Plan for Efficient Plumbing
Keeping plumbing on one wall is more than just a cost-saving trick. It simplifies maintenance and minimizes the likelihood of leaks or issues in the future. Grouping the toilet, shower, and sink along one wall can make the layout more efficient and reduce the complexity of the remodel.
Rule #3: Storage Solutions Shouldn’t be an Afterthought
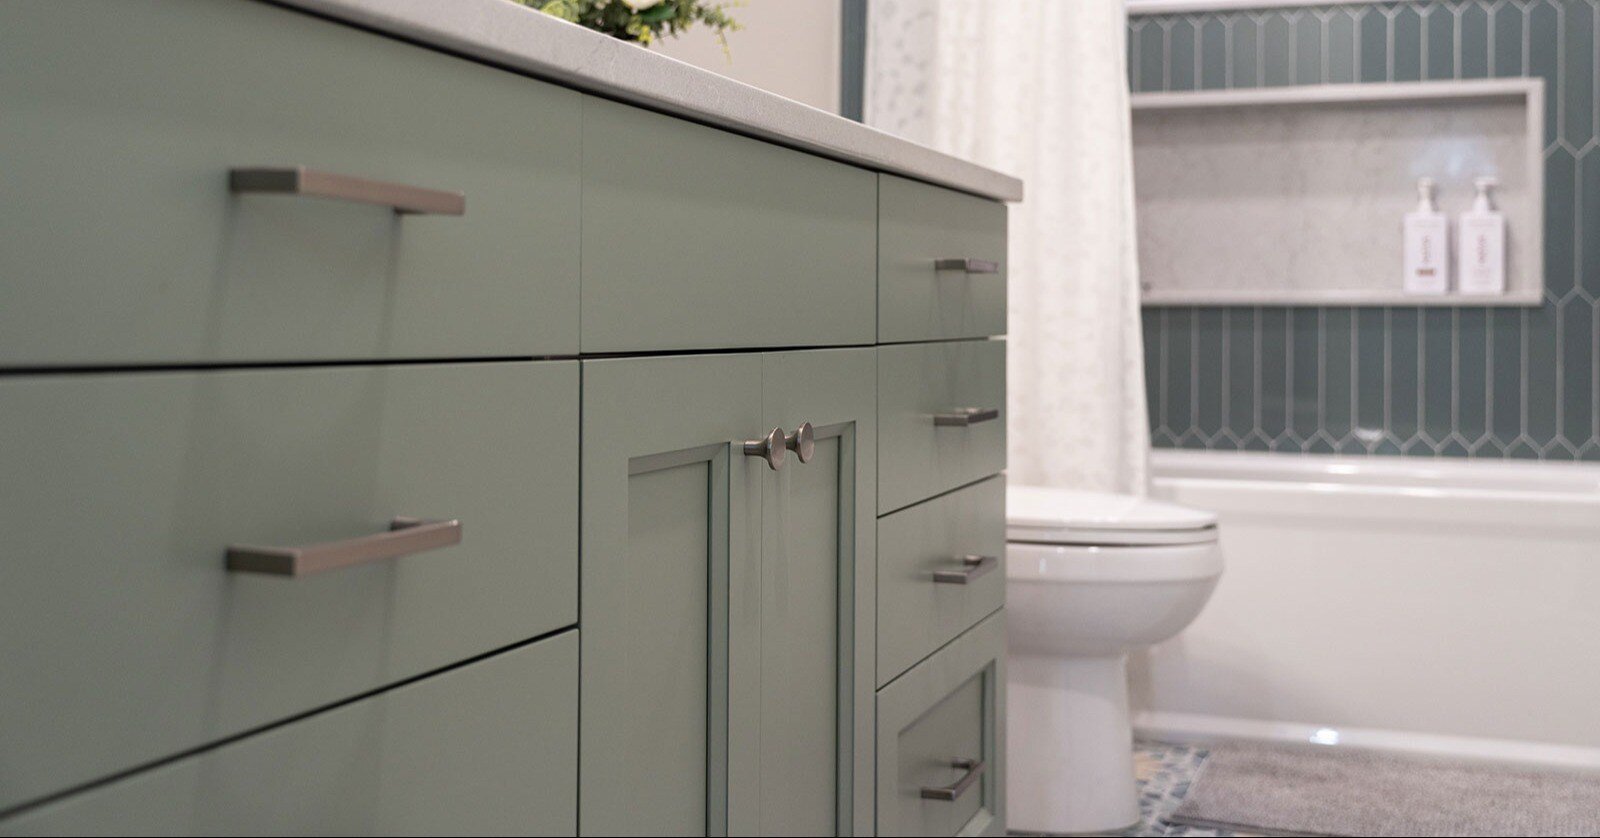
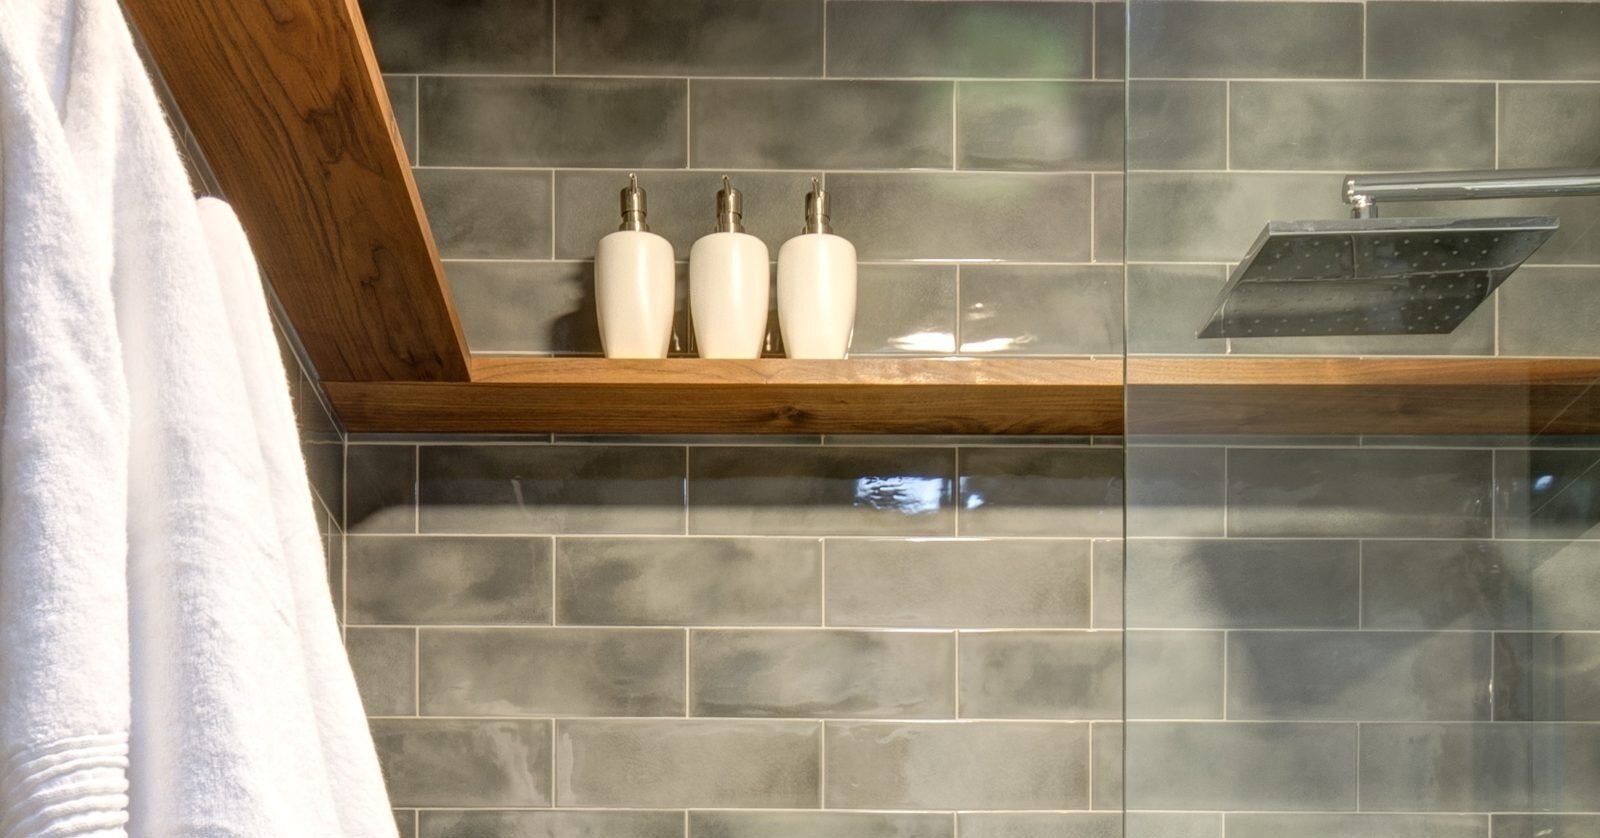
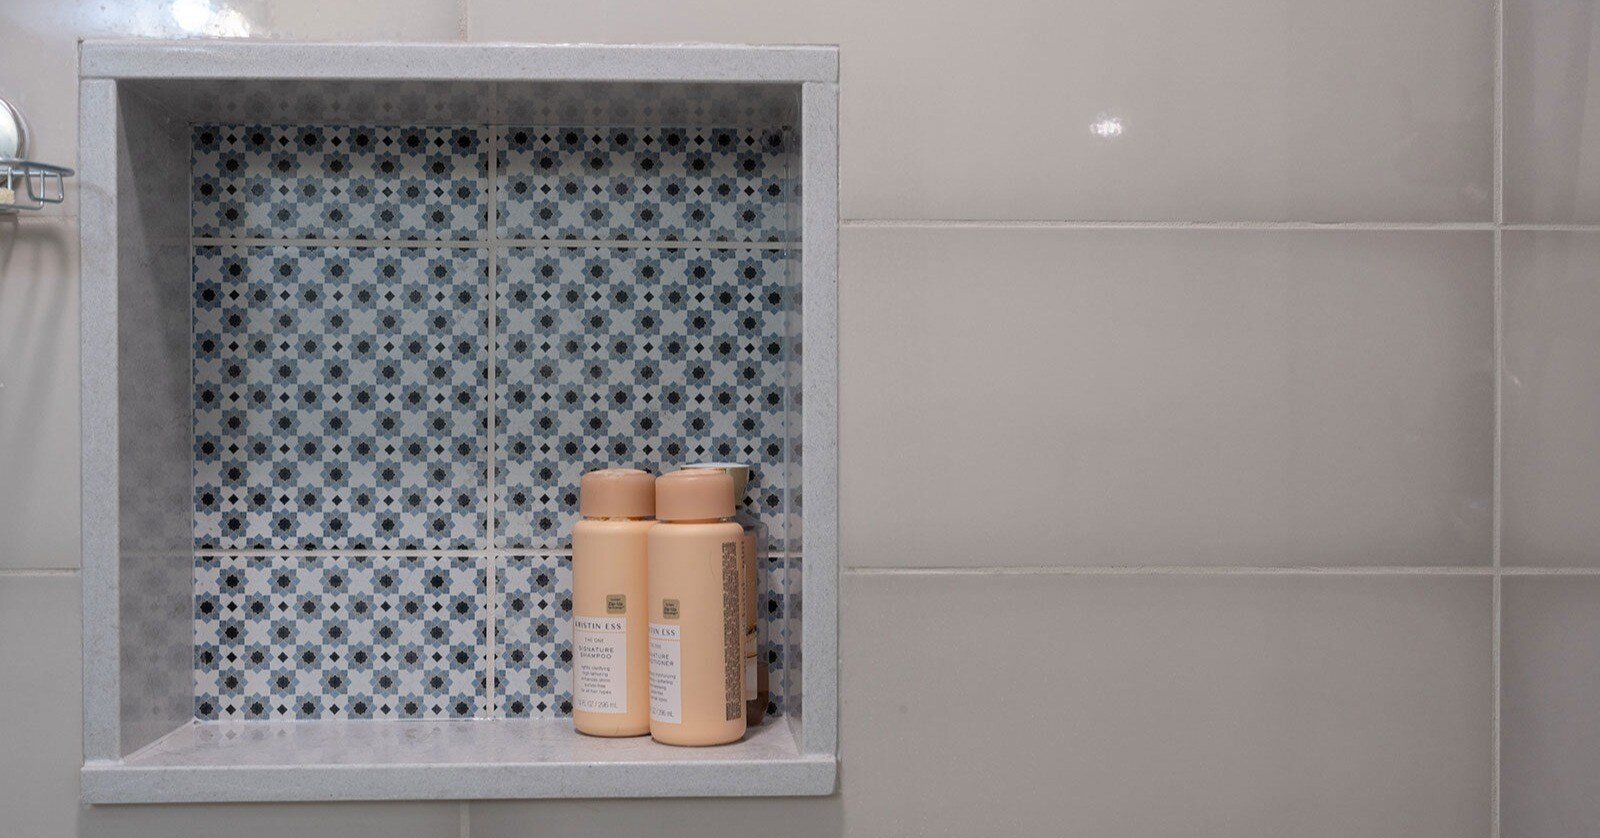
Put thoughtful consideration into cabinet space, shelves, or built-in storage early in the design process. For example, adding recessed or floating shelves above the toilet or built-in toiletry niches in the shower can provide extra storage without taking up precious floor space. Similarly, a vanity with built-in drawers or cabinets can keep clutter at bay and make the bathroom feel more organized.
Rule #4: Choose Fixtures That Match the Space
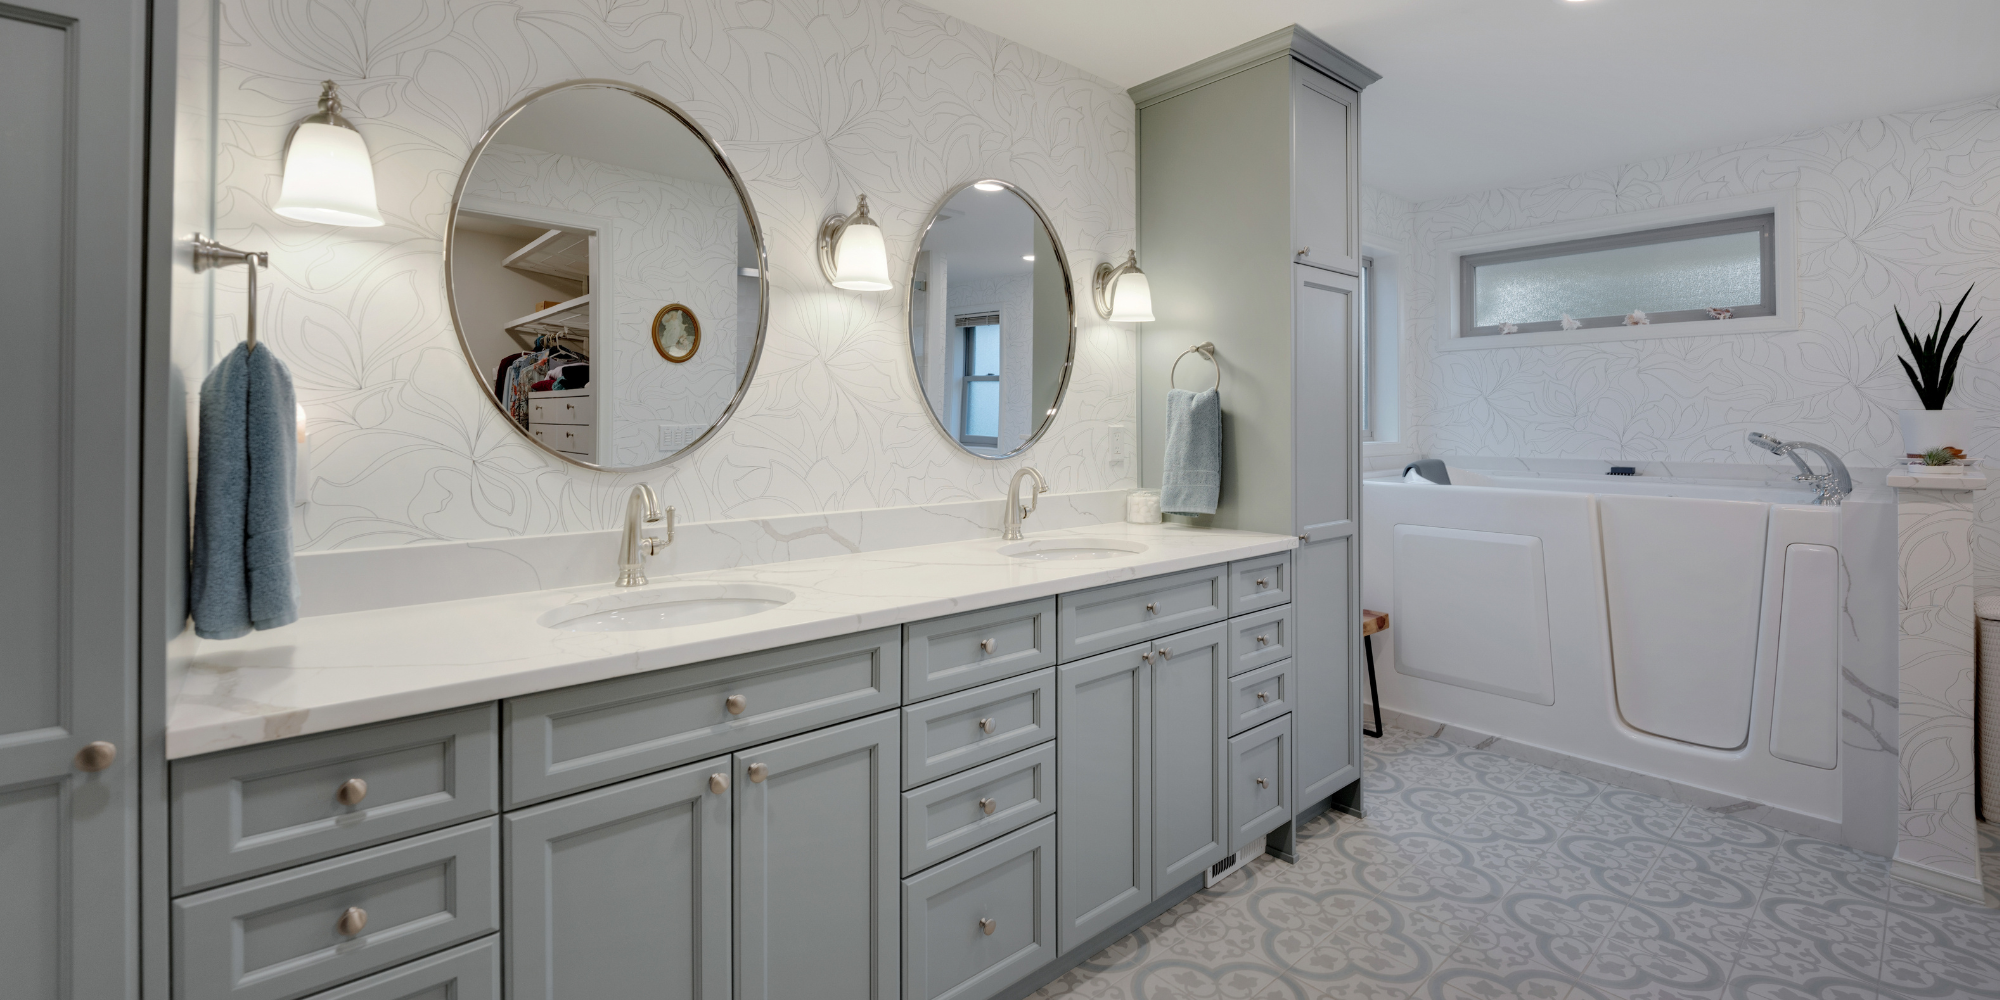
Oversized fixtures can make a small bathroom feel cramped. If space is tight, stick to compact toilets, wall-mounted sinks, or corner showers. For larger bathrooms, consider double vanities or more generous showers or tubs. Choosing fixtures that fit the scale of your space ensures a balanced and functional layout.
Rule #5: Position Fixtures for Privacy and Comfort
Ideally, position the toilet so it's not the first thing you see upon entering the bathroom. If possible, tuck it behind a half-wall, place it farther from the doorway, or, for added privacy, consider installing a pocket door if space allows. This adds a level of privacy, making the bathroom more comfortable for multiple users, especially in shared or guest bathrooms.
Rule #6: Consider Future Accessibility Needs
If you plan to stay in your home long-term, consider adding accessibility features even if you don't need them now. This might involve designing the space with a wider doorway, reinforcing walls to support future grab bars, or installing a curbless shower or walk-in bathtub. These small changes make the bathroom more accessible for all ages and abilities, and they can also be a good investment for resale value.
Rule #7: Effective Bathroom Ventilation for a Healthy Space
Proper ventilation protects your bathroom and home from moisture damage, mold, and mildew. Here’s how to ensure effective airflow:
- Vent Outdoors: Ensure your exhaust fan vents directly outside, away from windows and doors.
- Choose the Right Fan: To effectively remove moisture and odors, select a fan with a capacity suited to your bathroom's size, measured in cubic feet per minute (CFM). Many contractors often overlook this crucial detail.
- Install a Flapper: Place a flapper at the exterior vent to prevent insects and debris from clogging the airflow.
- Routine Maintenance: Clean the fan yearly to maintain performance.
- Consider Upgrades: Modern fans with moisture sensors or timers add convenience and energy efficiency.
Bathroom Layout Idea: Moving Away from the Traditional "Three-in-a-Row" Layout
If you're working with a bathroom layout that doesn't have the traditional 7-foot rectangular space, consider a more creative bathroom design that separates the plumbing to the opposite wall. Instead of lining up the toilet, vanity, and shower all along one wall, try splitting the fixtures across different walls. For example, you could have the toilet and shower on one side and the vanity on the other.
This setup is ideal for smaller or irregularly shaped bathrooms and offers some key advantages:
-
Increased Flexibility for Multiple Users: This split layout may offer less privacy but allows more than one person to comfortably use the bathroom simultaneously. One person could be at the vanity while another is in the shower, which is especially convenient in a primary bathroom.
-
More Space for Larger Fixtures: Splitting the layout opens up space for a larger vanity or additional storage options that wouldn't be possible in a "three-in-a-row" design. This flexibility can make the bathroom feel less cramped and more functional.
Design Idea Pro Tip: One of the best ways to save space in a smaller bathroom is to rethink the size and shape of your shower/bath. Traditionally, many bathrooms feature a 5-foot-long shower/tub combo, but this isn't always necessary—especially if you already have a bathtub somewhere else. A compact, custom shower can be designed to fit your bathroom's unique dimensions, making it much easier to maximize every inch available.
Bathroom Layout Idea: Multi-Entranced Primary Bathroom
For a smaller home, a multi-entranced bathroom with a pocket door inside can be a smart way to maximize your square footage. By designing the primary bathroom with two entrances—one from the primary bedroom and another from the main hallway—and adding a barrier between the spaces, you can create a flexible bathroom design that can function as both a private primary bathroom and a semi-public powder room when needed.
Here's how this setup works:
-
Flexible Layout for Multiple Users: A shared bathroom can be designed with privacy and functionality by placing double sinks and a toilet in a more open area with a second access door to the home’s main hallway, separated from the bath/shower room with a pocket door. This arrangement allows two people to use the bathroom at once, making it ideal for a shared kids' bathroom or even a primary suite that can double as a guest powder room.
-
Hallway Access for Guests: When guests visit, leaving the hallway door unlocked offers them easy access to the toilet and sink, allowing this space to function as a convenient powder room without needing an additional guest bathroom.
-
Perfect Solution for Smaller Homes: In homes with limited space for a separate hallway bathroom, this dual-access design provides a practical, privacy-conscious solution that maintains convenience for everyone.
Adding a door between the hallway-accessible vanity/toilet area and the private shower area helps make this arrangement even more functional, as it creates a distinct separation between the "public" and "private" areas of the bathroom.
Bathroom Layout Idea: The Wet Room
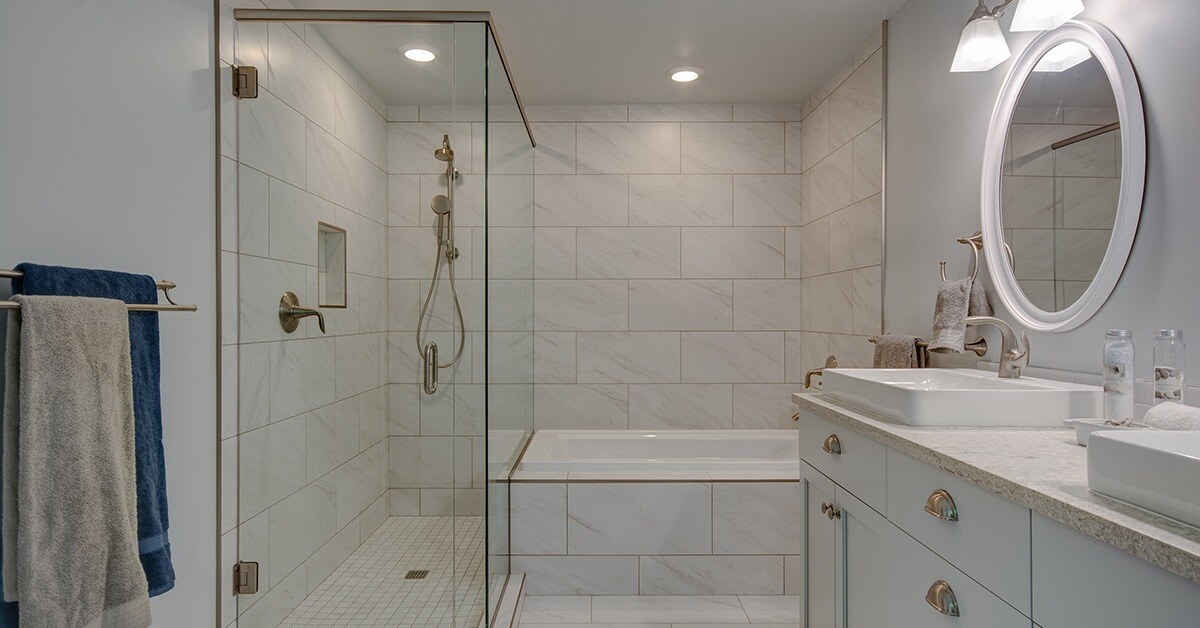
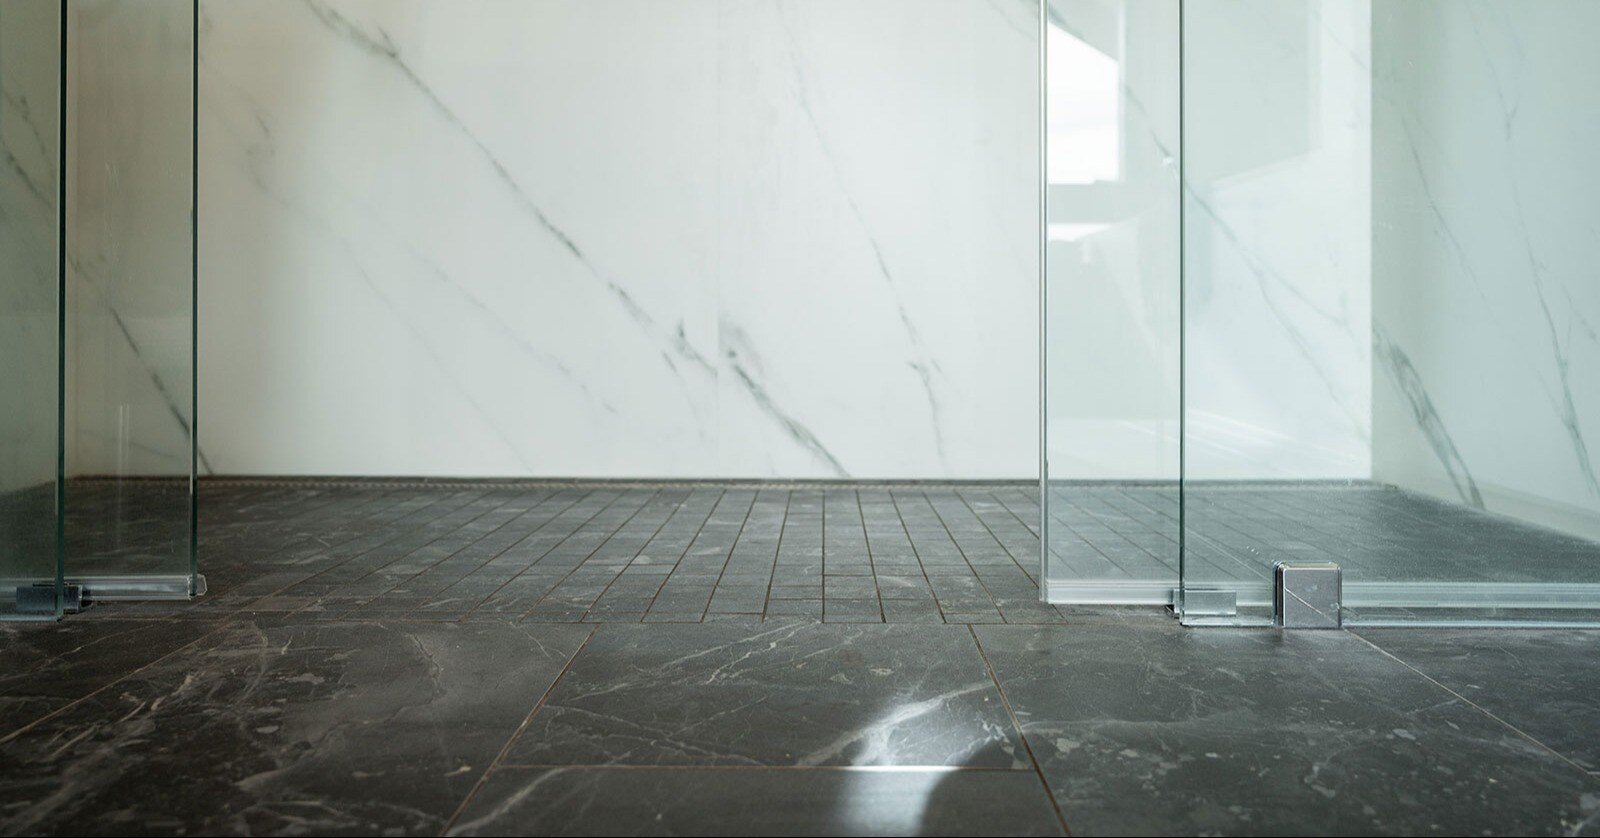
A wet room is an increasingly popular layout for small bathrooms and modern designs. In this setup, the shower and tub may be placed behind a glass partition, and all surfaces within that area are designed to get wet without damaging materials or the bathroom structure. The entire area is waterproofed, making it low-maintenance and easy to clean. However, homeowners have many opinions about this type of bath layout, so let’s review common pros and cons.
Pros of a Wet Room:
-
Space-Saving: Since the shower and tub share the same wet area, there's no need for additional barriers or dividers, which can free up valuable square footage. Consider making half the bathroom layout a wet room by designing an open shower area next to a freestanding soaking tub.
-
Modern Aesthetic: Wet rooms have a sleek, minimalist look that can make a small bathroom feel more open and luxurious.
-
Easy to Clean: Wet rooms are typically easier to clean and maintain because they have fewer separate areas and no shower door or curtain.
Cons of a Wet Room
-
Higher Cost: Wet rooms require full waterproofing of the entire space, which can add to renovation costs.
-
More Humidity: With everything in one enclosed area, wet rooms can get steamy. Adequate ventilation is a must to prevent moisture buildup and mold.
-
Ambient Room Temperature: Because a wet room is an open space, you must be comfortable showering in an ambient temperature. To add additional comfort, consider adding built-in heated floors.
A wet room setup can be an excellent compromise if you're renovating a small bathroom and want a design that's both stylish and efficient.
Bathroom Layout Idea: The Neo-Angle Shower – Why We Don't Recommend It
.png?width=511&height=750&name=BB%20Socials%20(12-01-24%20ES).png) With its angled glass doors and tight quarters, the neo-angle shower stall is one of those designs that sounds good in theory but often disappoints in practice. While neo-angle showers are sometimes recommended for small bathrooms, we generally advise against them for several reasons:
With its angled glass doors and tight quarters, the neo-angle shower stall is one of those designs that sounds good in theory but often disappoints in practice. While neo-angle showers are sometimes recommended for small bathrooms, we generally advise against them for several reasons:
-
Limited Space: Neo-angle showers are notoriously cramped, making it hard to move around comfortably. Larger individuals, in particular, may feel claustrophobic in this setup.
-
Awkward Door Swing: The door's angle often means it swings into a tight space, making it awkward to get in and out without bumping into walls or fixtures.
-
Cramped Feel: With its confined design, the neo-angle shower can make even a small bathroom feel more crowded, especially compared to a custom shower or wet room.
Our Recommendation: Instead of trying to make a neo-angle shower fit, we suggest looking at adjacent spaces around the bathroom to see if it's possible to expand the footprint of the shower area. Even a few extra inches can make a big difference, allowing you to install a more comfortable shower design that will be enjoyable to use.
The Benefits of Expert Guidance in Bathroom Floorplan Layouts
As you consider different bathroom layouts for your bathroom remodel, keep in mind that a design-build firm's expertise can be invaluable in bringing your vision to life. An experienced design-build contractor will help you navigate the unique 3D challenges of your space, whether it's working with a sloped ceiling, maximizing storage under a staircase, or making a small, awkwardly shaped room feel both functional and stylish.
They can look at your space from a fresh perspective, reimagining it in ways you may not have considered. Ultimately, it's all about finding the right balance between your individual needs, available square footage, and creative solutions that make the space work for you. With the right team on board, you'll be one step closer to achieving a bathroom that not only looks great but truly meets your needs.
Do you want to learn more about designing a bathroom tailored to your family’s lifestyle and both current and future needs? Download our eBook, The Complete Guide to Creating a Dream Bathroom: From Outdated to Oasis, and start planning your perfect space today.

